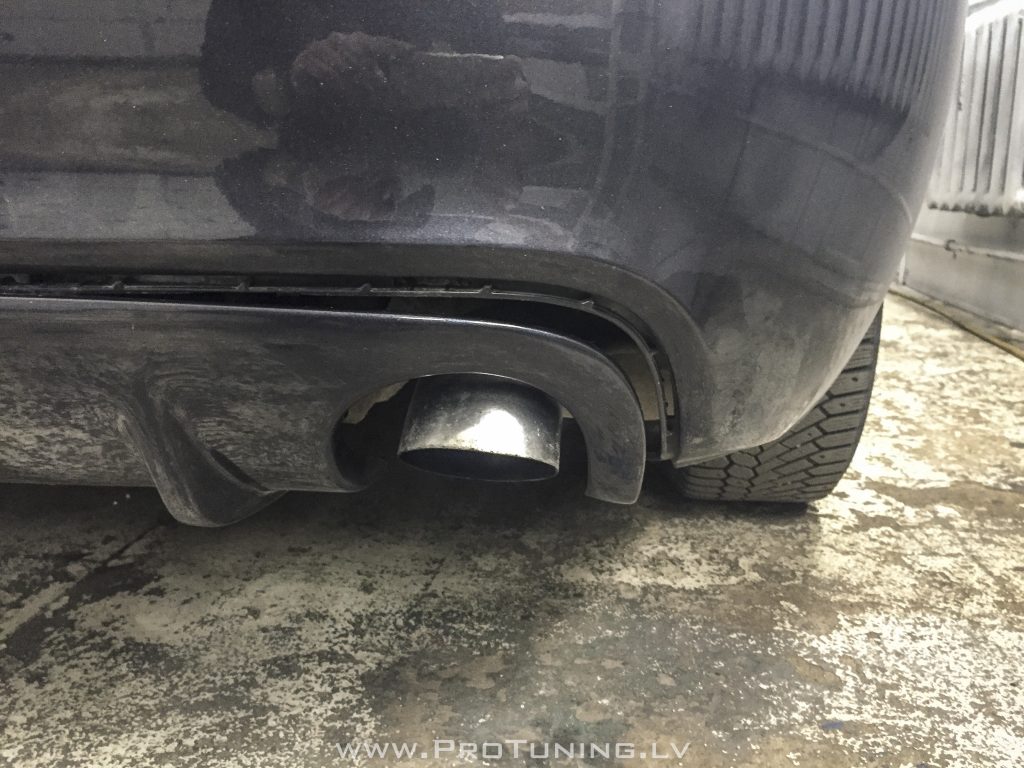
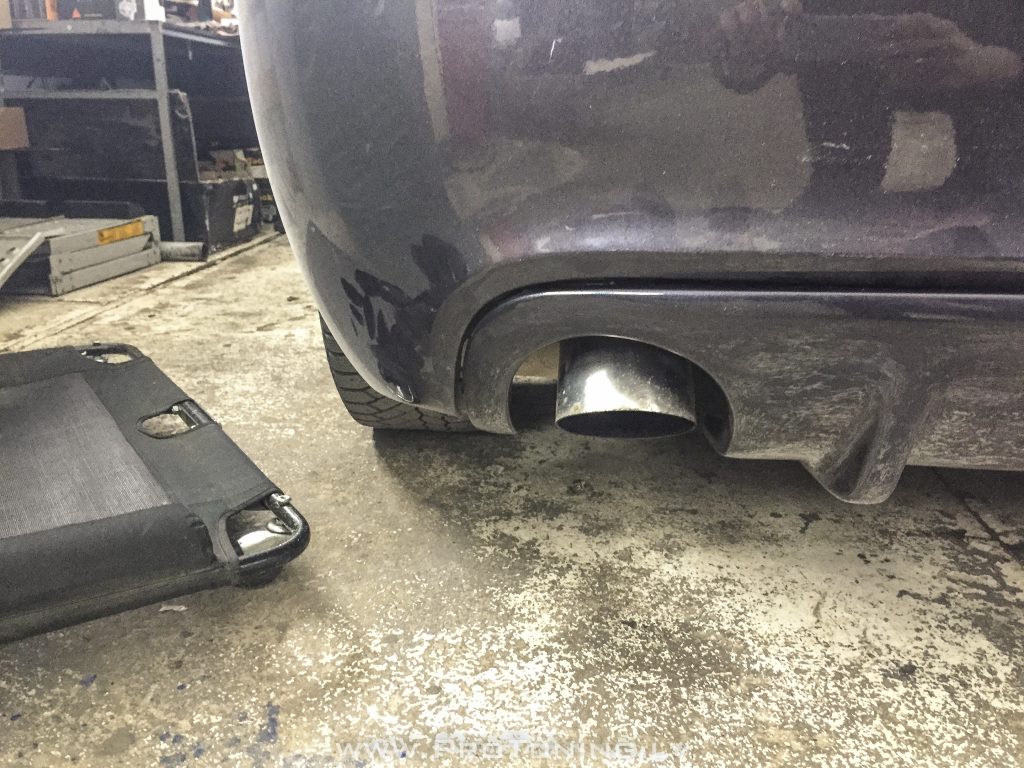
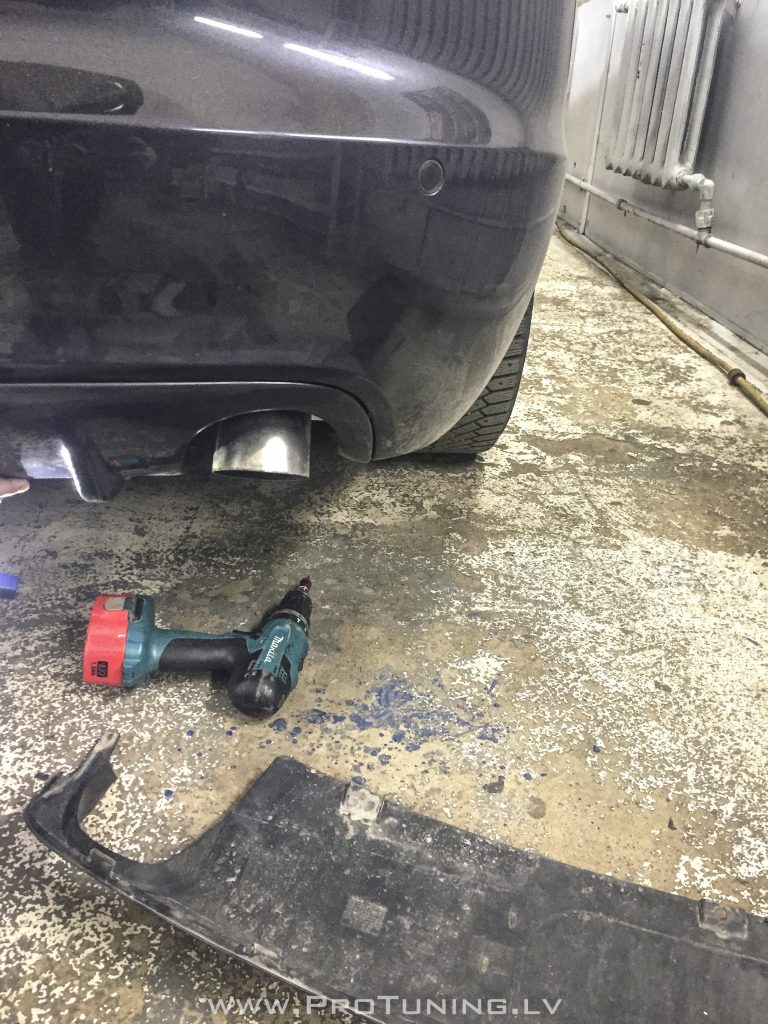
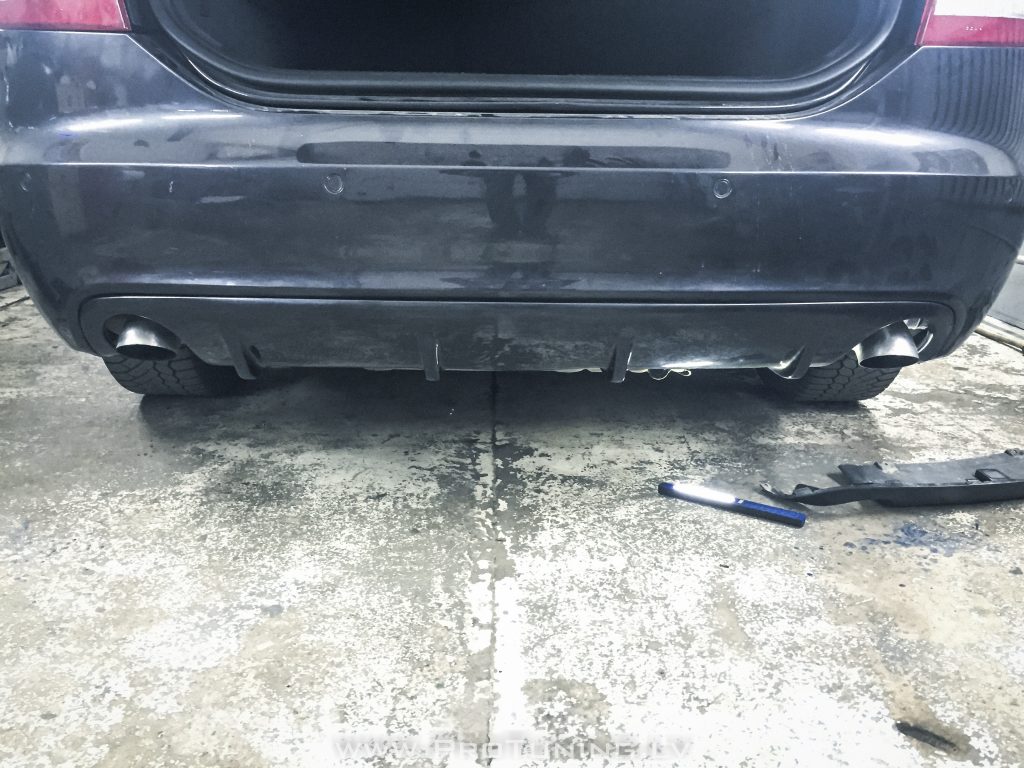
Diffuser installation manual for AUDI A6 4F :
This Fiberglass diffuser installation manual can also give you inspiration on how to install fiberglass parts which are “a little bit short and i’m a little bit lazy to do something”
Diffuser ( and more other cool stuff for your A6 4f ) can be found here : http://protuning.lv/index.php?op=market&module=modules/market&id=89&mid=58&model=381&linklang=lv
- Remove your existing diffuser and note how it is installed on to car ( 4 bolts underneath your car – it’s very important ). For other fiberglass products you need to understand the principles of the installation process – it is all the same.
- Do a test fit of a new diffuser, it will look a little shorter when not installed – it’s OK – you must understand that fiberglass is elastic material and that not installed product always will look like it’s not suitable.
3. Starting from one side ( we started from a left side ) fix new diffuser using old screw to the car ( sometimes you need to drill additional hole in the diffuser / fiberglass part )
4. Gently push from left side to right side apllying a little force and ask for assistance. One person is holding/pushing diffuser and second one fastens it under the car using existing screws. So you move from left side to opposite side accordingly applying a little pressure to diffuser when screwing it on to car
5. This is it, fasten other side and enjoy


